
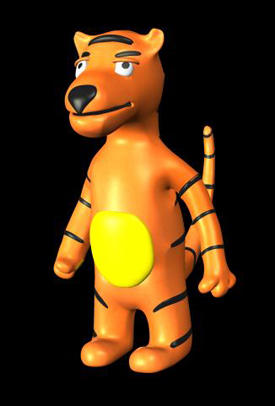
The tiger has body parts that I wanted to look like blobs of plasticine stuck onto his body, such as his belly, nose, eyes, eyebrows and stripes. Originally I had created these as separate parts and constrained them to clusters on the tiger's body. However, when I was animating the tiger, the parts started to flip around and weren't controllable. Instead I added polygons to the polymesh body, then selected the edges around the "bulge", used Model > Modify > Component > Set edge/vertex crease value and set it to 2. This worked quite well.
 The eyelids are still separate pieces of geometry, but rather than constraining them to a cluster on the polymesh, I've added nulls at the top of the eyes and have made the nulls children of the head bone. I moved the center of the eyelid geometry to the top of the eyelid and am animated the scaling in Y to open and close the eyelids.
First the clusters need to be point clusters and not polygons.
Second, the first Shape you save should be stored rather than saved (Animate > Deform > Shape > Store Shape Key). This is to create a Reference shape that that the others will be compared against. Then save the subsequent shapes (Animate > Deform > Shape > Save Shape Key).
Third, if you're going to use the Custom Property sliders to animate the shapes, you should rename the parameter names at the time you create the ShapeKeys. First rename the Shape Key when you create it and then open the Custom Parameter Set (called Shape Weights and located under the object, pin it open to keep up open while you create other shapes). To rename the parameter, right click on the animation divot and choose "Edit Parameter Definition", change the name.

