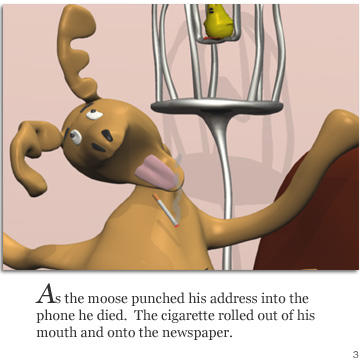
Last night I was struggling with yet another object to cluster constraint. Problems start to happen when I need to change the position / orientation of the object .. i.e. when the moose dies, the cigarette in his mouth (which is constrained to a cluster on his tongue) rolls off the tongue and onto the newspaper. Animating the blend or the activeness of the constraint works (in that it blends or turns it on or off) but I can't get the position and orientation correct, there is always a jump, or I can't place the thing in the place where I want it to be.
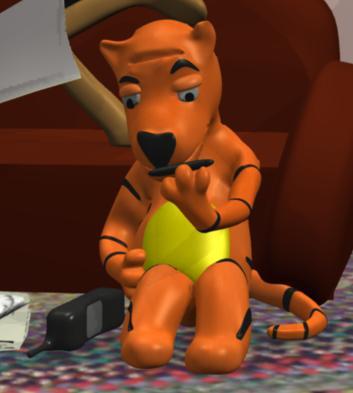
This was also happening with with the nose and eyebrows of the tiger (and the moose too). For these, I added polygons to the polygonal object and used crease control. This wouldn't work for the cigarette, it couldn't really be part of the tongue and it needs to roll off it.
I had the same problem with the stripe on the forehead of the tiger, which I solved by adding a 2 bone skeleton chain and enveloping the stripe to the two bones. In this case, this is the perfect solution since the stripe needs to bend when the tiger pulls it off and then needs to be straightened out when he sniffs it.
Yesterday, I also used this chain and envelope technique for the Canary's cigarette, which previously had been constrained to a cluster with which I was struggling with the offsets to get the correct orientation and position of the cigarette when the canary picks it out of the package. This is a great solution here, since I can now animate the length of the second bone of the cigarette as it is smoked.
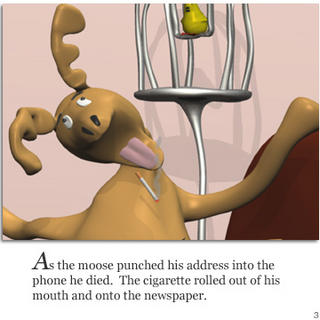
I decided today to use the same Chain and Envelope technique for the Moose's cigarette. It works marvelously. It is so much easier to control the position and orientation of the cigarette just by animating the root of the skeleton. The chain and envelope are children of the tongue and move perfectly with it as the moose chokes to death.
I'm sure there is no problem with the object to cluster constraint in itself. The problems occur when I try to animate offsets / activeness / blend. I'm happy that skeletons and envelopes are working fine for these situations!